How to Prepare Artwork That Cuts Cleanly
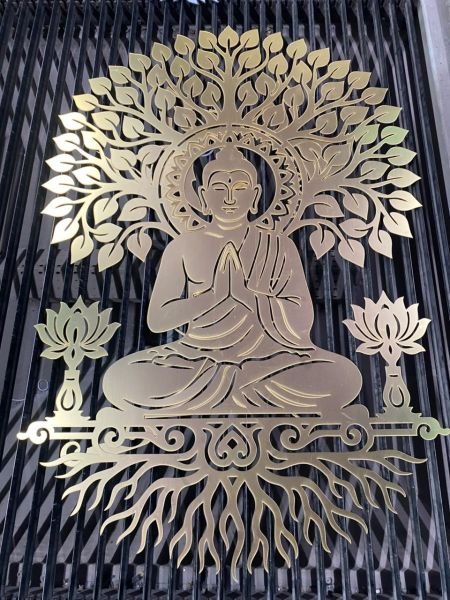
Roughly half our cutting work comes from other designers, signage companies and architects. The jobs that run late almost never do so because of the machine — they do so because the file needed a conversation first. These six checks take about five minutes and usually save a day.
1. Send vectors, not images
A laser or router follows paths. It cannot follow a JPG, a PNG or a screenshot. Those have to be traced into paths first, which takes time and rarely reproduces fine detail the way the original did.
Send: CDR, AI, DXF, or a genuine vector PDF. A PDF with an image placed inside it is still an image — exporting from a photo editor does not create a vector.
If a vector genuinely does not exist, send the highest-resolution version you have along with the intended finished dimensions, and we will redraw it properly for cutting rather than tracing something that will cut roughly.
2. Convert text to curves
This is the single most common cause of a wrong cut. If the font is not installed on the machine that opens your file, it is silently substituted — and the job cuts in a typeface nobody chose. Nothing warns you; the file simply looks slightly different on a screen you are not standing at.
Convert text to curves, outlines or paths before sending. Keep an editable copy for yourself first, because once converted the text can no longer be retyped or respaced.
3. Close every path
An open path is a line. A closed path is a shape. The machine will happily follow an open path and cut a line that goes nowhere, leaving a letter that does not release from the sheet or a shape with a slit through it.
Check for duplicate paths sitting exactly on top of each other too — a very common artefact of copy-paste. The machine cuts both, which doubles the time, burns the edge on acrylic and can spoil the piece entirely.
4. Draw at actual size, and say so
Draw everything 1:1 in real-world units, and state the units in your message. Scaling errors of exactly ten, or of 25.4, are the two we see most — millimetres read as centimetres, or inches read as millimetres.
If a specific dimension is critical — a fixing centre, a slot that must accept a particular bracket, an overall height that has to fit an existing recess — mark it on the drawing or say it explicitly. It takes one line and removes the ambiguity entirely.
5. Separate your layers
One file often contains three different operations, and they need to be distinguishable:
- Through-cut — the profile that separates the piece from the sheet
- Engrave or raster — surface marking that does not go through
- Score or fold line — part-depth, for bending or alignment
- Reference only — dimensions, notes, registration marks that must not be cut
Put each on its own named layer, or give each a distinct colour and tell us the mapping. The classic mishap is a dimension line left on the cut layer, which is duly cut straight across the finished piece.
6. Mind the smallest detail
Every material has a point below which detail stops surviving the cut. A workable rule: an internal feature narrower than the material thickness is at risk.
On acrylic, thin sections heat up and distort or crack. On thin metal, they snap out during handling. The usual casualties are serif tips, the thin joins in script fonts, and the small counters inside letters like 'a', 'e' and 'g' at small sizes.
Related: any letter with an enclosed counter — O, A, D, P, R, 8 — has a floating middle that has to be held in place. On a stencil-style cut it needs bridges. On a signage letter the centre is usually fixed separately during assembly. Tell us which you want, or we will ask.
Kerf, and when it matters
Kerf is the width of material removed along the cut line — narrow on a laser, noticeably wider on a CNC router where it equals the bit diameter.
For a standalone letter it is irrelevant. It matters as soon as two cut parts have to fit together — inlays, slotted assemblies, a piece that drops into a recess — because the cut takes material from both sides of the line. If a job needs to assemble, say so and we will offset for it rather than cutting exactly to the line.
One CNC-specific point worth knowing at design stage: a router bit is round, so it cannot cut a sharp internal corner. Inside corners come out with a radius equal to the bit. This is normal and expected, but if a square internal corner is essential, it needs either a relief cut designed in or a different process.
What to send with the file
- Material and thickness — the same drawing cuts differently in 3 mm and 10 mm
- Quantity — affects how we nest the parts and what it costs per piece
- Finish expected — polished edge, flame-polished, as-cut, or painted afterwards
- Whether parts must fit together — so kerf is allowed for
- Your deadline — most standard jobs run 1–3 working days, and same-day is often possible on stocked material
Which machine your job goes on
We run both, so the choice is made on technical grounds rather than on which machine happens to be free. Laser for thin acrylic, fine detail and a polished edge, on beds up to 4 × 8 feet. CNC router for thick material, ACP, MDF and aluminium, up to 5 × 12 feet. A job needing both — fine lettering and large panels — stays in one workshop instead of travelling between suppliers.
If you are unsure about any of the above, send the file anyway with a note about what you are trying to achieve. We would far rather ask a question before cutting than deliver something technically correct and practically wrong.
Frequently Asked Questions
What file format is best for laser cutting?
Vector formats only — CDR, AI, DXF or a vector PDF. A JPG or PNG cannot be cut directly; it has to be traced first, which adds time and rarely reproduces fine detail accurately. If a vector is genuinely unavailable, send the highest resolution image you have along with the intended dimensions and we will redraw it.
Why do I need to convert text to curves?
A font file that is not installed on the machine gets substituted silently, and the job cuts in the wrong typeface. Converting text to curves, outlines or paths turns the letters into fixed shapes that cannot change. Keep an editable copy for yourself before converting, because curved text can no longer be retyped.
What is kerf and does it affect my design?
Kerf is the width of material the beam or bit removes along the cut line — narrow on a laser, wider on a CNC router. It matters when parts have to fit into each other, such as inlays or slotted assemblies, because each cut takes material from both pieces. Tell us if a job needs to fit together and we will allow for it rather than cutting exactly to the line.
How small can a cut detail be?
As a working rule, an internal feature narrower than the material thickness is at risk — it can heat up and distort on acrylic or snap out on thin metal. Serif tips, thin script joins and small counters inside letters are the usual casualties. We flag anything at risk before cutting rather than delivering a damaged piece.
Want This Applied to Your Own Shop Front?
We survey, measure and quote free of charge across Chennai, Kanchipuram, Chengalpattu and Tiruvallur — with an itemised quotation you can compare properly against any other.
Read Next
What Does a Sign Board Cost in Chennai?
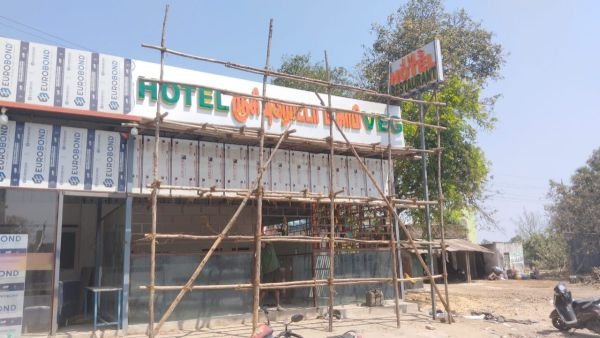
Per square foot is the standard unit, but two quotes at the same rate can mean very different boards. Here is what actually sits behind the number.
Read the guide → 7 min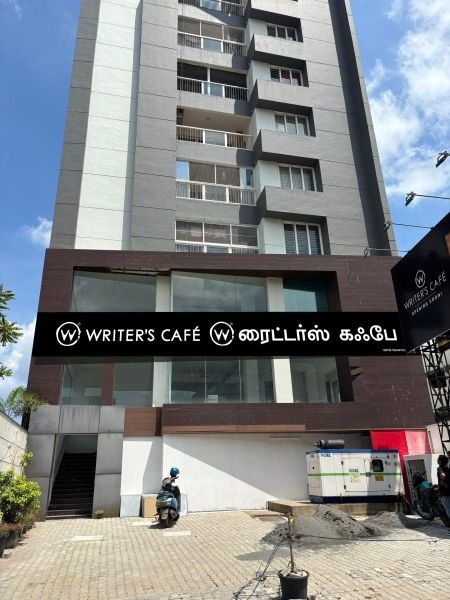
Shop Sign Board Rules in Chennai: What to Check Before You Order
A board that has to come down after installation is the most expensive board there is. Five things worth confirming before fabrication starts.
Read the guide → 6 min
ACP, Acrylic or LED: Choosing the Right Shop Front Board
These are not competing products so much as answers to different questions. The right one depends on your trading hours, your frontage and how long the board has to last.
Read the guide → 8 min